Isingeniso
This manual provides detailed instructions for the installation, operation, and maintenance of the ASUS B760M-AYW WiFi D4 II microATX motherboard. Please read this manual thoroughly before installing or using the product to ensure correct setup and optimal performance.
Ulwazi Lokuphepha
- Always disconnect the power cable from the wall socket before touching any internal components.
- Wear an anti-static wrist strap or frequently touch a grounded object to prevent electrostatic discharge (ESD) damage to components.
- Phatha izingxenye ngemiphetho yazo ukuze ugweme ukuthinta izingxenye ezibucayi.
- Qinisekisa ukuthi umoya ungena kahle ngaphakathi kwesikhwama se-PC yakho ukuze uvimbele ukushisa ngokweqile.
Setha
1. Ukufakwa kwe-CPU
The motherboard supports Intel LGA 1700 socket processors. Carefully align the CPU with the socket, ensuring the triangular mark on the CPU matches the mark on the socket. Lower the CPU gently into the socket, then close the load plate and secure the retention lever.
Isithombe: Phezulu phansi view of the ASUS B760M-AYW WiFi D4 II motherboard, highlighting the LGA 1700 CPU socket.
2. Ukufakwa kweMemori (RAM).
This motherboard features two DDR4 DIMM slots. For optimal performance, install memory modules in a dual-channel configuration. Open the clips on both ends of the DIMM slot, align the memory module with the slot key, and press down firmly until the clips snap into place.
3. Ukufakwa Kwesitoreji (M.2 ne-SATA)
The motherboard includes two M.2 slots for NVMe SSDs and four SATA 6 Gbps ports for traditional hard drives or SSDs.
- M.2 SSD: Insert the M.2 SSD into the slot at a 30-degree angle, then push it down and secure it with the provided M.2 screw package.
- Amadrayivu e-SATA: Connect SATA data cables from your storage drives to the SATA ports on the motherboard. Connect power cables from your power supply to the drives.

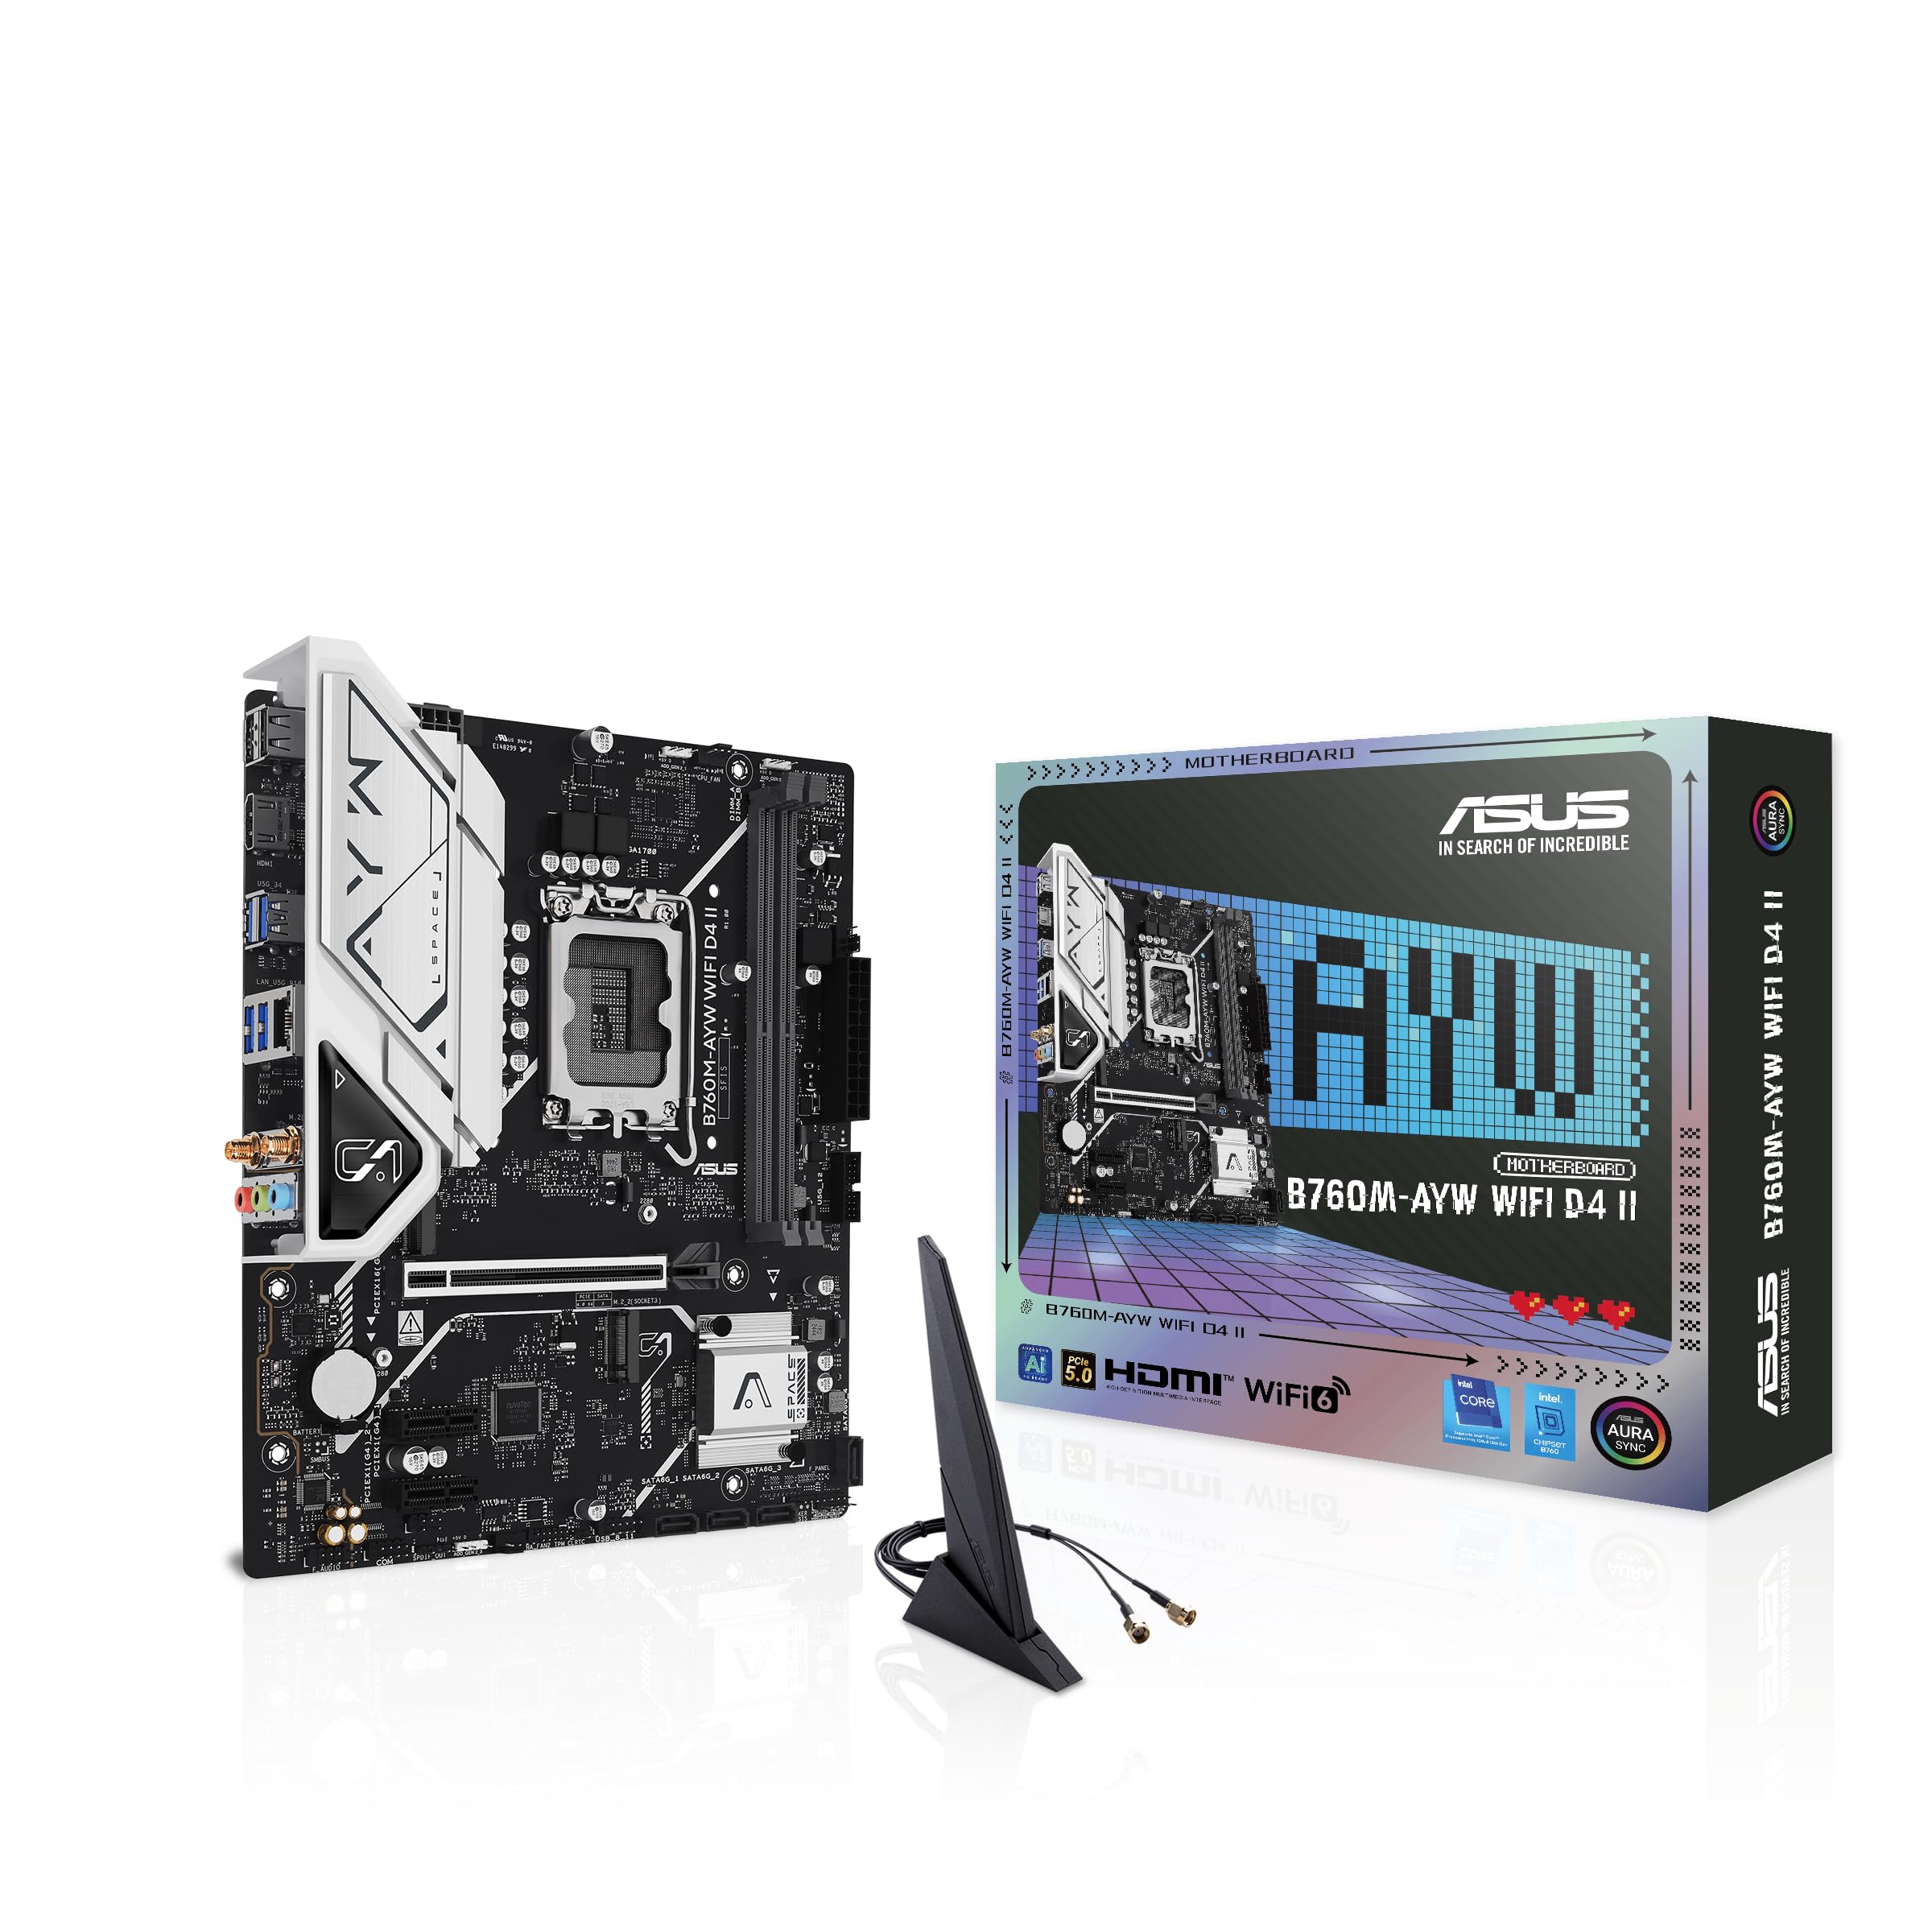
Image: The ASUS B760M-AYW WiFi D4 II motherboard shown with its retail box, Wi-Fi antenna, SATA cables, and M.2 screw packages.
4. Ukufakwa Kwekhadi Lokukhulisa (i-PCIe)
The motherboard features one PCIe 5.0 x16 slot for graphics cards and additional PCIe 4.0 x1 slots for other expansion cards. Insert the card firmly into the desired slot until it clicks into place and secure it with a case screw.
5. Ukuxhunywa kwamandla
Xhuma isixhumi samandla se-ATX esingu-24-pin kanye nesixhumi samandla se-CPU esingu-8-pin kusuka kugesi wakho kuya kuma-port ahambisanayo ku-motherboard.
6. Ukuxhumeka Kwephaneli Engaphambili
Connect your PC case's front panel cables (USB 5Gbps, audio, power switch, reset switch, power LED, HDD LED) to the corresponding headers on the motherboard. Refer to the motherboard layout for exact header locations.
7. Ukuxhumeka kwe-I/O kwangemuva
Connect your peripherals to the rear I/O ports. These include HDMI, USB 5Gbps Type-A, Realtek 2.5Gb Ethernet, and audio jacks.
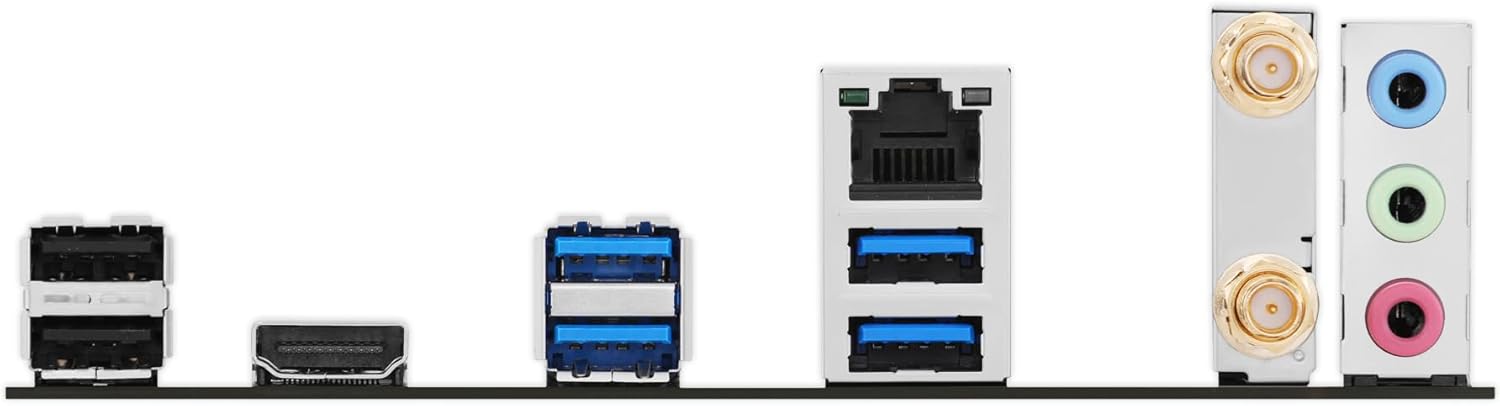
Isithombe: A enemininingwane view of the rear input/output panel of the ASUS B760M-AYW WiFi D4 II motherboard, showing USB ports, Ethernet, and audio jacks.
8. Ukufakwa kwe-Antenna ye-Wi-Fi
Screw the included Wi-Fi antenna onto the two antenna connectors on the rear I/O panel. Position the antenna for optimal signal reception.
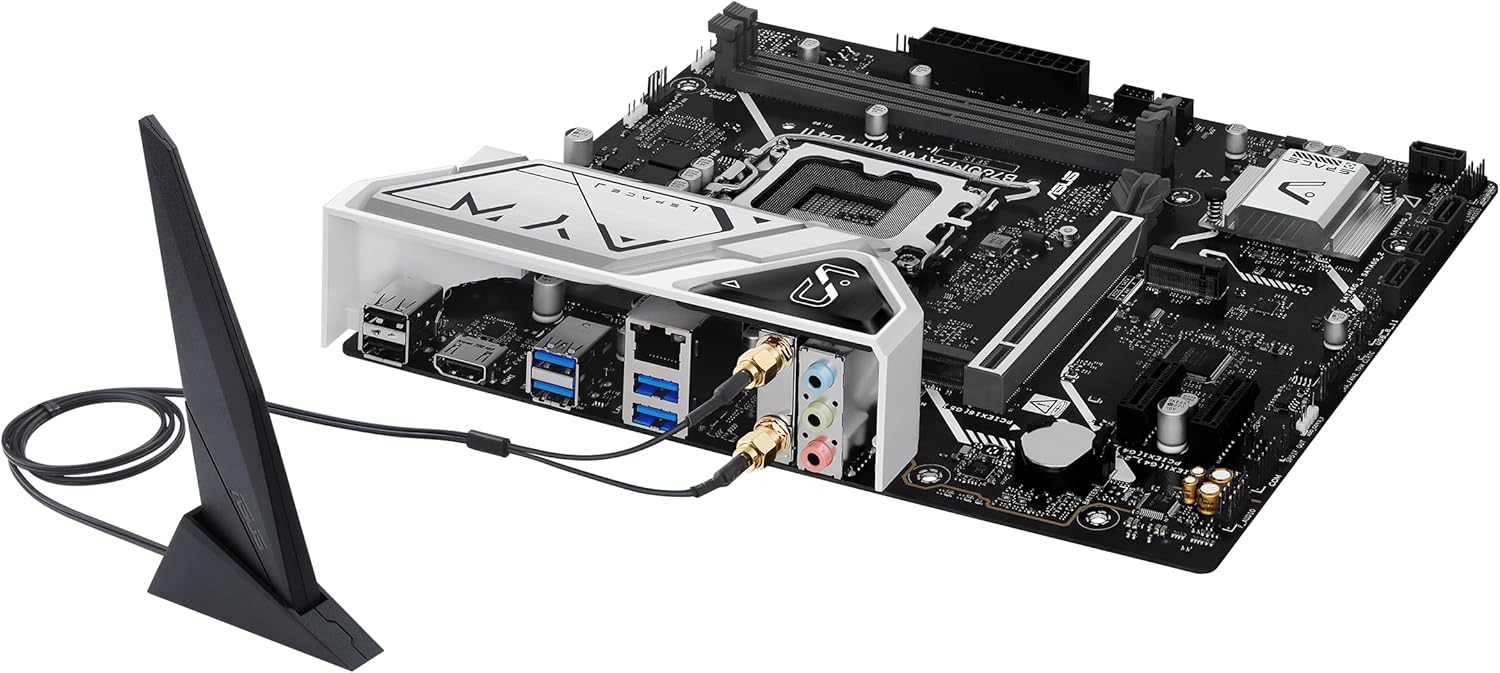
Image: The ASUS B760M-AYW WiFi D4 II motherboard with its external Wi-Fi antenna connected to the rear I/O ports.
Isebenza
1. Ukucushwa kwe-BIOS/UEFI
Ukuze ufinyelele uhlelo lokusetha lwe-BIOS/UEFI, cindezela inkinobho ethi Susa key during the Power-On Self-Test (POST). Here you can configure boot order, enable XMP for memory, adjust fan speeds, and manage other system settings.
2. Ukufakwa komshayeli
After installing your operating system, install the necessary drivers for the motherboard's components. These include chipset drivers, LAN drivers, Wi-Fi drivers, and audio drivers. Drivers can be found on the ASUS support webisayithi lemodeli yakho yebhodi lomama.
3. Izinsiza Zesoftware
ASUS provides several utilities to enhance your system experience:
- Ukuvumelanisa kwe-Aura: For controlling RGB lighting on compatible components.
- I-Fan Xpert 2+: Ukuze kulawulwe abalandeli ngendlela ethuthukisiwe kanye nokwenza ngcono ukupholisa uhlelo.
- I-Armory Crate: A centralized software suite for system monitoring, driver updates, and utility management.
Isondlo
1. Ukuvuselelwa kwe-BIOS
Hlola usekelo lwe-ASUS ngezikhathi ezithile website for BIOS updates. BIOS updates can improve system stability, add support for new hardware, or fix bugs. Use the ASUS EZ Flash utility within the BIOS to perform updates, following the instructions carefully.
2. Izibuyekezo Zomshayeli
Keep your drivers updated to ensure optimal performance and compatibility. Regularly check the ASUS support webisayithi labashayeli bamuva bebhodi lakho lomama.
3. Ukuhlanza
To maintain optimal performance and longevity, regularly clean dust from your PC case and motherboard components. Use compressed air to remove dust from heatsinks, fans, and slots. Ensure the system is powered off and unplugged before cleaning.
Ukuxazulula inkinga
1. Q-LED Core Indicators
The motherboard features Q-LED Core indicators that light up to indicate the status of key components during POST. These LEDs can help diagnose issues:
- CPU LED: Indicates CPU initialization status.
- DRAM LED: Indicates memory detection status.
- VGA LED: Indicates graphics card detection status.
- BOOT LED: Indicates boot device detection status.
If an LED remains lit, it suggests an issue with the corresponding component.
2. Izinkinga Ezivamile
- Awekho Amandla: Hlola konke ukuxhumana kwamandla (i-ATX enamaphini angu-24, i-CPU enamaphini angu-8, amandla e-GPU). Qinisekisa ukuthi ugesi uvuliwe.
- Akukho Ukuboniswa: Verify the graphics card is properly seated and connected to power. Ensure the monitor cable is connected to the graphics card, not the motherboard (unless using integrated graphics).
- Ukungazinzi Kwesistimu: Check memory seating, run memory diagnostic tools, ensure CPU cooler is properly installed, and verify BIOS settings.
- I-Peripheral Ayitholakalanga: Ensure the device is properly connected and its drivers are installed. Try a different port if available.
Imininingwane
| Isici | Ukucaciswa |
|---|---|
| Ibhrendi | ASUS |
| Igama Lemodeli | B760M-AYW WIFI D4 II |
| CPU Socket | I-LGA 1700 |
| Amaprosesa Ahambisanayo | Intel Core 14th, 13th, 12th Gen, Pentium Gold, Celeron Processors |
| Uhlobo lwe-Chipset | I-Intel B760 |
| RAM Memory Technology | I-DDR4 |
| Memory Slots Iyatholakala | 2 |
| Umthamo Omkhulu Wokugcina Imemori | 96 GB |
| I-Interface Yekhadi Lezithombe | I-PCI Express 5.0 x16 |
| Total M.2 Slots | 2 |
| Total SATA Ports | 4 |
| I-Ethernet | I-Realtek 2.5Gb Ethernet |
| I-Wi-Fi | I-Wi-Fi 6 |
| Izimbobo ze-HDMI | 1 |
| Ngaphambi kwe-USB | USB 5Gbps support |
| Ngemuva kwe-USB | I-USB 5Gbps Type-A |
| I-Form Factor | I-microATX |
| Ubukhulu bento (L x W x H) | 9.6"L x 8.3"W x 1.4"H |
Ulwazi Lwewaranti
The ASUS B760M-AYW WiFi D4 II motherboard comes with a 3-year limited warranty. For detailed terms and conditions, please refer to the warranty card included with your product or visit the official ASUS support webindawo.
Ukusekela
For technical support, driver downloads, BIOS updates, and further product information, please visit the official ASUS support webindawo:
You can also find FAQs and troubleshooting guides on the support portal.