
1. Ngaphezuluview
The ESP32-S3-Zero is a compact mini development board and castellated module designed for embedded applications. It features an ESP32-S3FH4R2 dual-core processor, operating at up to 240MHz. This board supports 2.4GHz Wi-Fi (802.11 b/g/n) and Bluetooth 5 (LE) connectivity, making it suitable for Internet of Things (IoT), mobile devices, wearable electronics, and smart home projects.
Key features include a hardware encryption accelerator, RNG, HMAC, and digital signature modules for enhanced security. It offers rich peripheral interfaces and various low-power working states to optimize power consumption for diverse application scenarios.

Figure 1: Waveshare ESP32-S3-Zero Mini Development Board, a compact module with a USB Type-C port and castellated edges for easy integration.
Izici:
- Ifakwe i-Xtensa 32-bit LX7 dual-core processor, kufika ku-240MHz ifrikhwensi enkulu.
- Supports 2.4GHz Wi-Fi (802.11 b/g/n) and Bluetooth 5 (LE).
- Built-in 512KB SRAM and 384KB ROM, onboard 4MB Flash memory and 2MB PSRAM.
- Castellated module and onboard ceramic antenna, suitable for direct soldering to carrier boards.
- Supports flexible clock and independent module power supply settings for low power consumption.
- Integrated USB serial port full-speed controller.
- 34 × GPIO pins allowing flexible configuration.
- Multiple peripheral interfaces: 4 × SPI, 2 × I2C, 3 × UART, 2 × I2S, 2 × ADC.
2. Board Specifications
The following table details the technical specifications of the ESP32-S3-Zero Mini Development Board.

Figure 2: Visual representation of board specifications and available versions (with and without pre-soldered headers).
| Ukucaciswa | Inani |
|---|---|
| Iphrosesa | Xtensa 32-bit LX7 dual-core, up to 240MHz |
| Usayizi Ofakiwe Wememori Ye-RAM | 512 KB SRAM |
| Amandla Okugcina Inkumbulo | 4 MB Flash, 2 MB PSRAM |
| Ubuchwepheshe bokuxhumana | Bluetooth 5 (LE), GPIO, I2C, USB Type-C, Wi-Fi (802.11 b/g/n) |
| Izikhonkwane ze-GPIO | 34 |
| Amapheripheral | 4 × SPI, 2 × I2C, 3 × UART, 2 × I2S, 2 × ADC |
| Usekelo Lwesistimu Esebenzayo | I-FreeRTOS |
| Izimbobo ze-USB | 1 (Uhlobo-C) |
3. What's On Board
This section identifies the key components on the ESP32-S3-Zero board.

Figure 3: Labeled diagram of the ESP32-S3-Zero board's main components.
- ESP32-S3FH4R2 dual-core processor: The main processing unit, operating up to 240MHz.
- Imbobo yohlobo C ye-USB: For power supply, data communication, and programming.
- ME6217C33M5G Low Dropout LDO: Provides 800mA (Max) regulated power.
- WS2812 RGB LED: A programmable RGB LED for status indication or visual feedback.
- 2.4G ceramic antenna: Integrated antenna for Wi-Fi and Bluetooth connectivity.
- BOOT button: Used in conjunction with the RESET button to enter download mode for flashing firmware.
- Setha kabusha inkinobho: Isetha kabusha ibhodi.
- ESP32-S3FH4R2 pins: GPIO pins for connecting external components and peripherals.
4. Phina Incazelo
Understanding the pinout is essential for connecting peripherals and designing custom circuits. The ESP32-S3-Zero offers a variety of GPIO pins with multiple functions.

Figure 4: Detailed pinout diagram showing the various functions available on each GPIO pin, including UART, PWM, I2S, ADC, I2C, and SPI.
Refer to the diagram above for the specific functions assigned to each pin. These pins can be configured for digital input/output, analog-to-digital conversion, pulse-width modulation (PWM), and various communication protocols like UART, SPI, and I2C.
5. Setha
To begin using your ESP32-S3-Zero Mini Development Board, follow these setup steps:
5.1 Ukuxhumana kokuqala
- Connect the ESP32-S3-Zero to your computer using a USB Type-C cable. The board should power on, and the onboard LED may illuminate.
- Your computer should detect a new USB device. Depending on your operating system, drivers may be automatically installed. If not, you may need to manually install the appropriate USB-to-Serial drivers (e.g., CP210x or CH340 drivers, though often integrated for ESP32-S3).
5.2 Ukusethwa Kwendawo Yokuthuthukiswa
The ESP32-S3-Zero supports various development environments. The most common are the Arduino IDE and Espressif's ESP-IDF.
- I-Arduino IDE: Install the Arduino IDE. Then, add the ESP32 board package through the Boards Manager. Select the correct ESP32-S3 board variant (e.g., ESP32-S3 Dev Module) from the Tools > Board menu.
- I-ESP-IDF: For more advanced development, install the Espressif IoT Development Framework (ESP-IDF) by following the official Espressif documentation.
- I-MicroPython: To use MicroPython, you will need to flash the MicroPython firmware onto the board. Refer to the MicroPython documentation for ESP32-S3 for detailed instructions.
For detailed step-by-step instructions and tutorials, please refer to the official online documentation: n9.cl/1zs9va
6. Ukusebenza
Once your development environment is set up, you can begin programming and operating your ESP32-S3-Zero board.
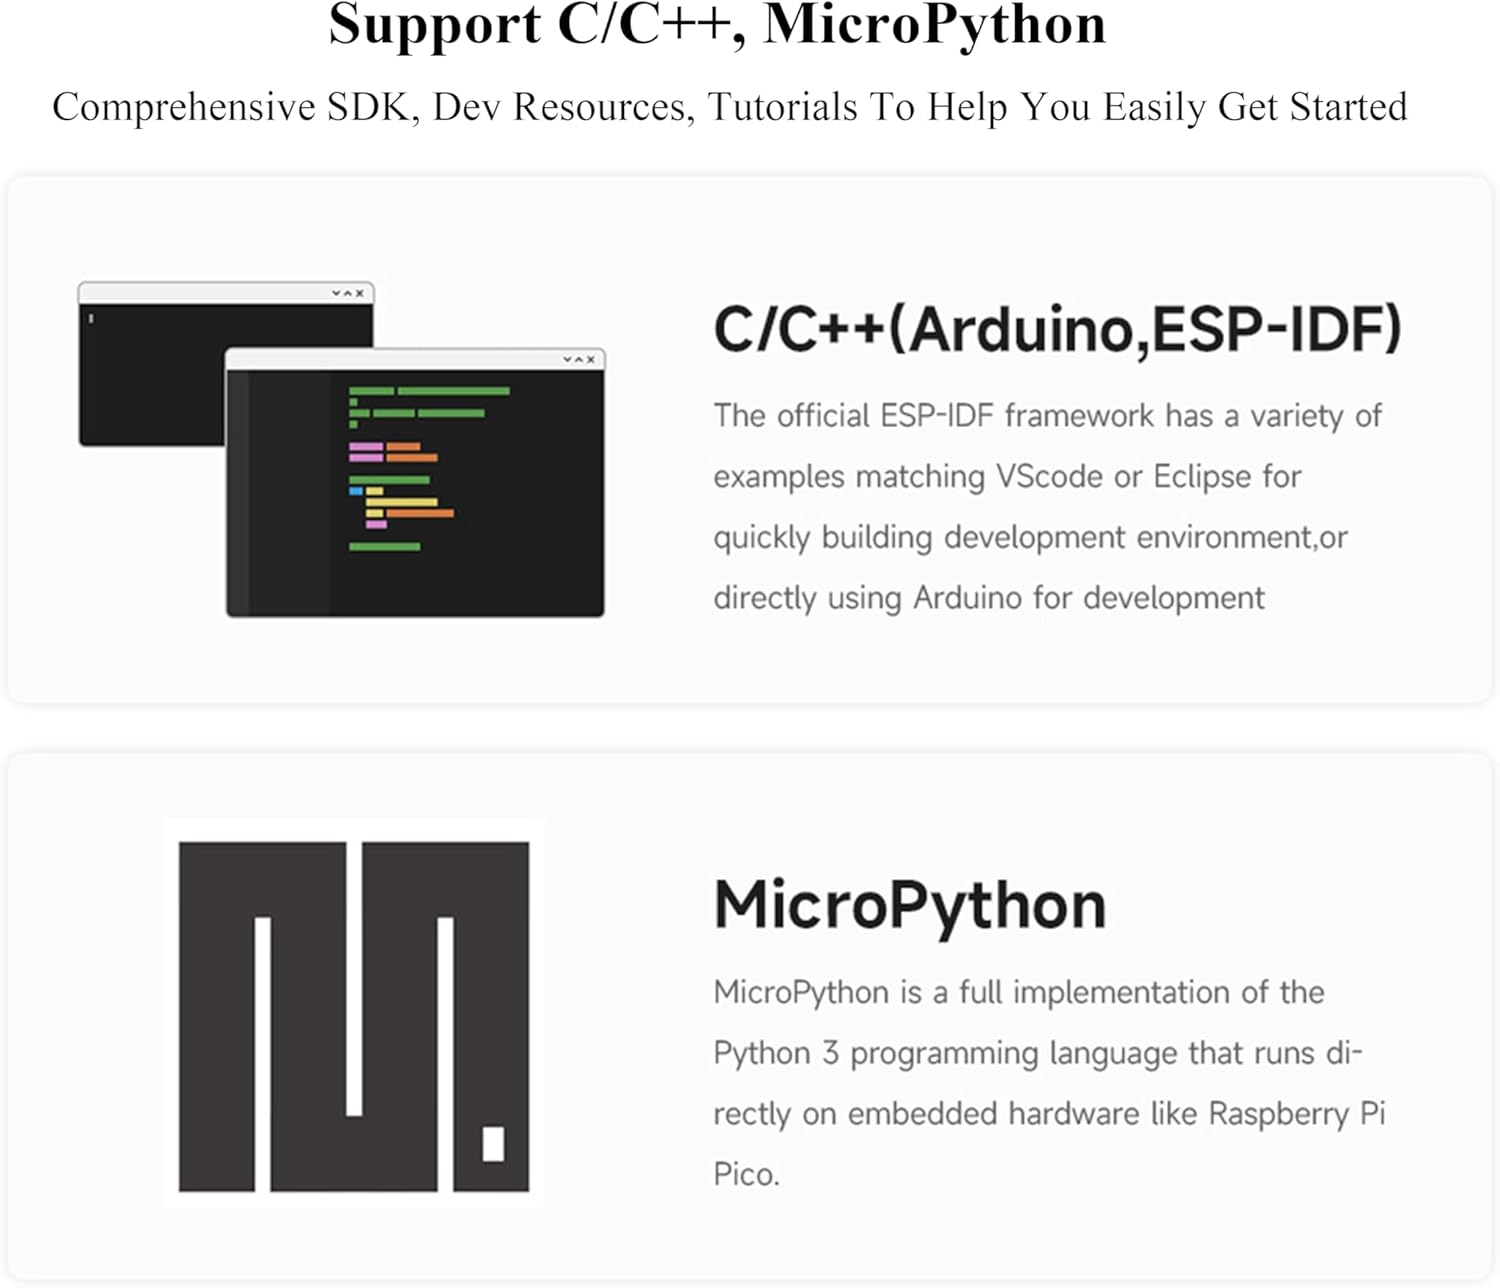
Figure 5: The ESP32-S3-Zero supports development using C/C++ (Arduino, ESP-IDF) and MicroPython.
6.1 Programming the Board
- Ikhodi Yokulayisha: In your chosen IDE (e.g., Arduino IDE), write or open your code. Ensure the correct board and serial port are selected. Click the 'Upload' button to compile and flash the code to the ESP32-S3-Zero.
- Entering Download Mode: If the board does not automatically enter download mode for flashing, you may need to manually trigger it. Press and hold the BHUKU inkinobho, bese ucindezela kafushane i- SETHA KABUSHA button, and finally release the BHUKU button. The board will then be in download mode, ready to receive new firmware.
- Serial Monitor: Use the Serial Monitor in your IDE to view output from your program and debug. Ensure the baud rate matches the one set in your code.
6.2 Ukuxhumanisa amaPheripheral
Utilize the GPIO pins to connect sensors, actuators, and other modules. Refer to the Pin Definition section (Section 4) and the online documentation for detailed information on pin functions and usage.
7. Isondlo
The ESP32-S3-Zero is a robust development board, but proper care ensures its longevity and reliable operation.
- Gcina Komile: Avoid exposing the board to moisture or liquids, which can cause short circuits and damage components.
- Inhlanzeko: Keep the board free from dust and debris. Use a soft, dry brush or compressed air for cleaning.
- Phatha Ngokunakekela: Avoid applying excessive force to the components or connectors. Static electricity can damage sensitive electronic components, so handle the board on an anti-static surface or wear an anti-static wrist strap.
- Ukunikezwa kwamandla kagesi: Ensure you use a stable 5V power supply via the USB Type-C port. Over-voltage can damage the board.
8. Ukuxazulula izinkinga
If you encounter issues with your ESP32-S3-Zero, consider the following troubleshooting steps:
8.1 Device Not Recognized by PC
- Hlola ikhebula le-USB: Ensure the USB Type-C cable is functional and properly connected to both the board and your computer. Try a different cable.
- Zama Imbobo Ye-USB Ehlukile: Connect the board to another USB port on your computer.
- Faka Abashayeli: Verify that the necessary USB-to-Serial drivers are installed. While often automatic, manual installation may be required for some operating systems.
- Qala kabusha Ikhompyutha: A simple restart can sometimes resolve connectivity issues.
8.2 Programming/Flashing Issues
- Incorrect Board Selection: In your IDE (e.g., Arduino IDE), ensure you have selected the correct ESP32-S3 board variant.
- Incorrect Serial Port: Verify that the correct serial port (COM port on Windows, /dev/ttyUSBx on Linux/macOS) is selected in your IDE.
- Enter Download Mode Manually: If automatic flashing fails, manually put the board into download mode by holding the BHUKU button, pressing and releasing SETHA KABUSHA, then releasing BHUKU.
- Baud Rate Mismatch: Ensure the baud rate in your IDE's serial monitor matches the baud rate configured in your code.
- ESPHome/Other Frameworks: If using specific frameworks like ESPHome, ensure all required libraries and configurations are correctly set up according to their documentation.
9. Outline Dimensions
The physical dimensions of the ESP32-S3-Zero board are provided below for integration into projects and enclosures.

Figure 6: Outline dimensions of the ESP32-S3-Zero board in millimeters.
The board measures approximately 23.50 mm in length and 18.00 mm in width. All dimensions are in millimeters (mm).
10. Iwaranti kanye Nokusekela
Specific warranty information for this product is not provided in the available product data. Please refer to the Waveshare official website or your point of purchase for any warranty details.
For technical support, additional documentation, tutorials, and community forums, please visit the Waveshare official online documentation portal:
Waveshare ESP32-S3-Zero Online Tutorial/Document
This resource provides comprehensive guides to help you get started and troubleshoot common issues.