
Isingeniso
Welcome to the instruction manual for your Galax Revolution 06 (Rev-06) Mid Tower ATX Gaming Cabinet. This manual provides essential information for the proper setup, operation, maintenance, and troubleshooting of your new computer case. Please read this manual thoroughly before installation and retain it for future reference.

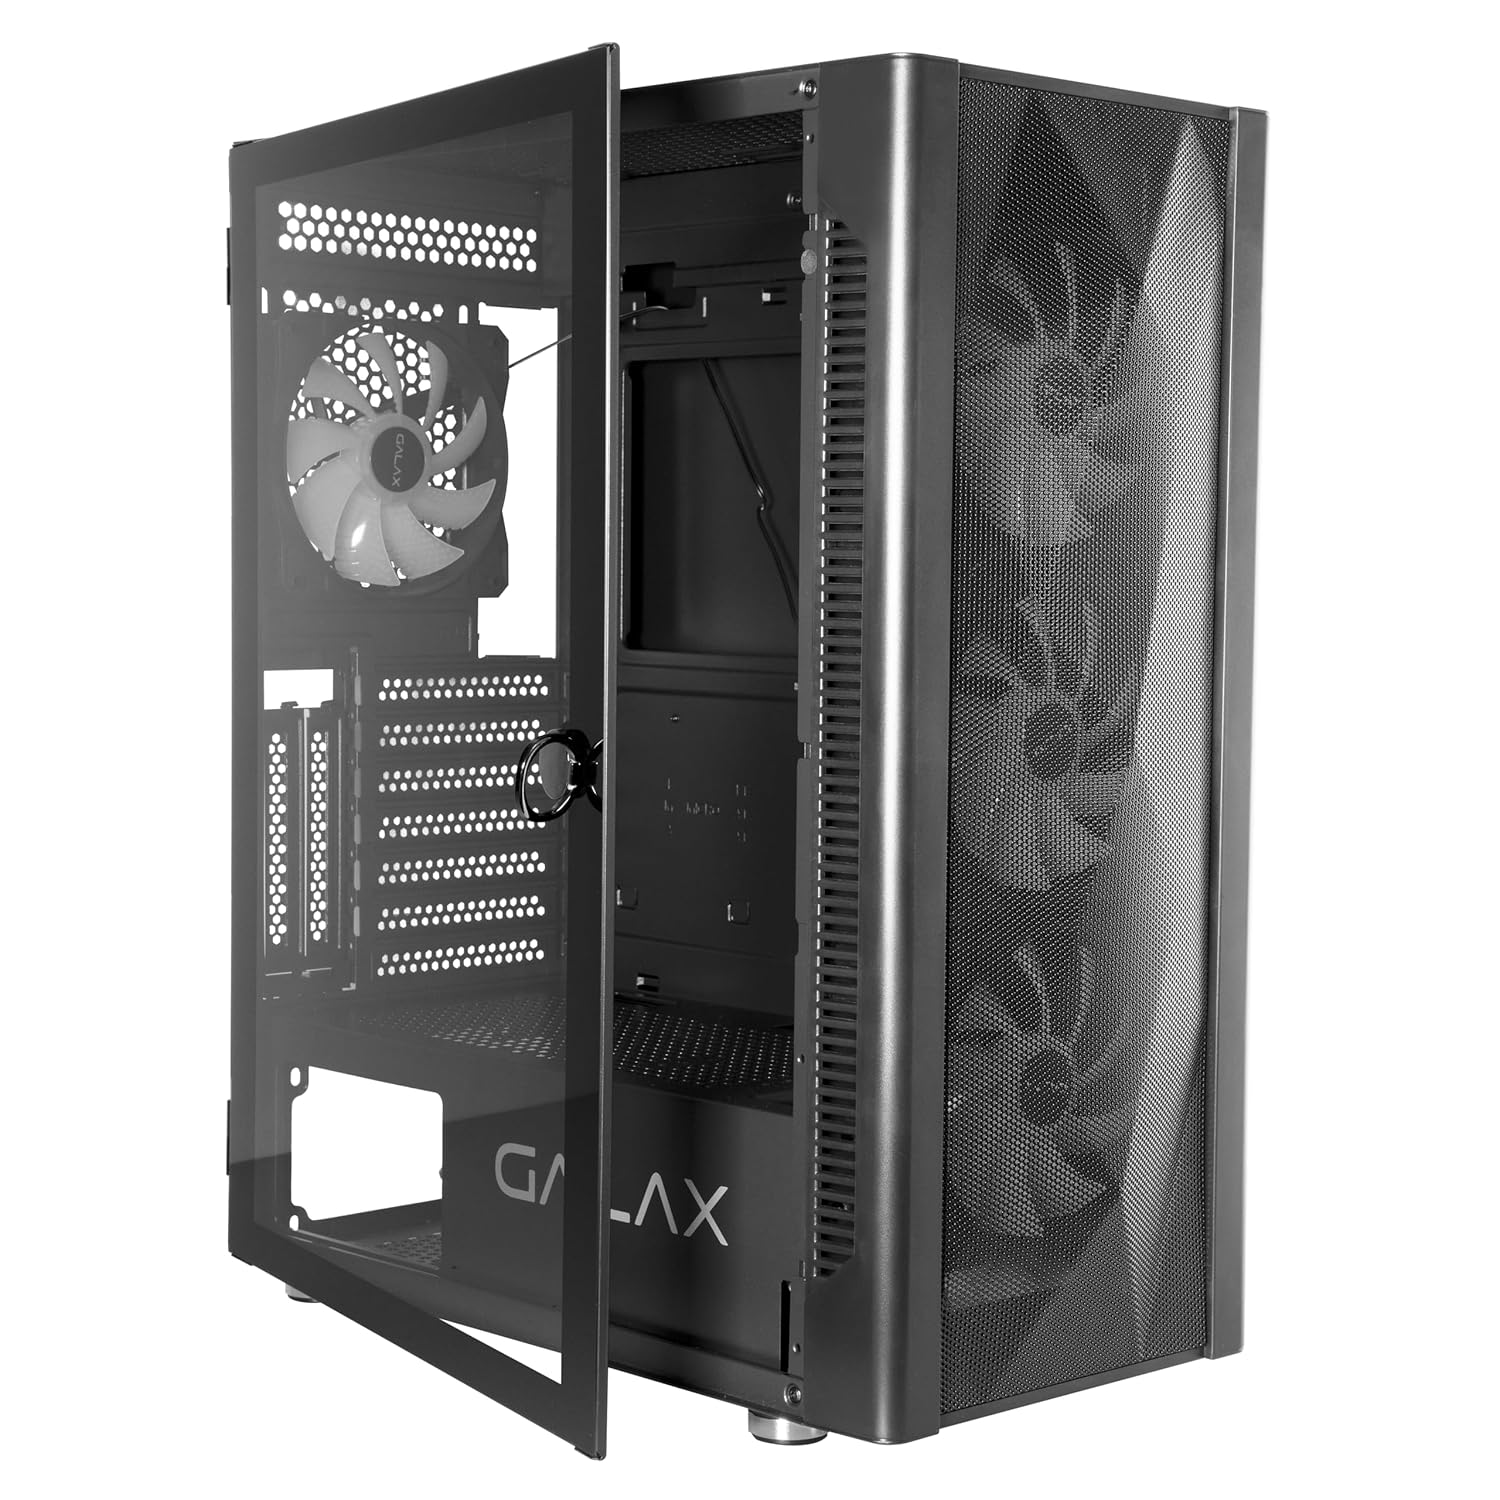
Isithombe: Ngaphambili view of the Galax Revolution 06 gaming cabinet.
Ulwazi Lokuphepha
- Always disconnect power from the power supply unit (PSU) before installing or servicing any components inside the cabinet.
- Handle tempered glass panels with extreme care to prevent breakage. Avoid impacts or dropping the panel.
- Avoid exposing the cabinet to extreme temperatures, direct sunlight, or high humidity.
- Keep small parts, such as screws and accessories, out of reach of children.
- Ensure proper grounding of your computer system to prevent electrical hazards.
Okuqukethwe Kwephakheji
Sicela uqinisekise ukuthi zonke izinto zikhona ephaketheni lakho:
- Galax Revolution 06 Mid Tower ATX Gaming Cabinet
- 4 Pre-installed RGB Cooling Fans
- Ikhithi Yezesekeli (ifaka izikulufo ezahlukahlukene, izikhonkwane zokuma, kanye nezibopho zekhebula)
- Incwadi Yomsebenzisi (le dokhumenti)
Umkhiqizo Uphelileview
The Galax Revolution 06 is a mid-tower ATX gaming cabinet engineered for optimal airflow and component visibility. It features a mesh front panel for superior cooling performance and a hinged magnetic tempered glass side panel for easy access and a clear view yezingxenye zakho zangaphakathi.
Izici Eziyinhloko:
- Superior Cooling: Equipped with 4 pre-installed RGB cooling fans and a mesh front panel to ensure peak airflow.
- Kucace View: Hinged magnetic tempered glass door provides a crystal-clear view of your PC system's interior.
- Front Panel Connectivity: Includes 1x USB 3.0, 2x USB 2.0, 3.5mm Microphone port, 3.5mm Headphone port, Reset Button, and Power Button.
- Usekelo Lokupholisa Uketshezi: Versatile radiator mounting options for Front (240mm/280mm/360mm), Top (240mm/280mm), and Rear (120mm).
- Graphics Card Support: Accommodates graphics cards up to 330mm in length.
I-Front Panel I/O Ports:

Isithombe: Ngemininingwane view of the front panel connectivity, including USB 3.0, USB 2.0, microphone, headphone, reset, and power buttons.
Setha
1. Ukulungisa Icala
- Place the cabinet on a stable, flat surface.
- Gently pull the handle to open the hinged tempered glass side panel.
- Remove any protective films from the glass and other surfaces.
2. Ukufakwa kwe-Motherboard
- Identify the correct standoff positions for your motherboard (ATX, Micro-ATX, Mini-ITX).
- Install the necessary standoffs from the accessory kit into the corresponding holes on the motherboard tray.
- Carefully place your motherboard into the cabinet, aligning it with the installed standoffs and the rear I/O shield opening.
- Secure the motherboard with screws provided in the accessory kit.

Image: Empty internal view of the case, illustrating motherboard mounting points and cable routing options.
3. Ukufakwa Kweyunithi Yokunikezela Ngamandla (i-PSU).
- Install the PSU into its designated compartment at the bottom rear of the cabinet.
- Secure the PSU with screws from the rear of the cabinet.
4. Ukufakwa Kwekhadi Lezithombe (GPU).
- Remove the necessary PCIe slot covers from the rear of the cabinet.
- Faka ikhadi lakho lehluzo endaweni efanele ye-PCIe kubhodi lomama.
- Secure the GPU with screws. The cabinet supports GPUs up to 330mm in length.
5. Ukufakwa Kwedrayivu Yesitoreji
- Install 2.5-inch SSDs or 3.5-inch HDDs into the available drive bays. Refer to the cabinet's internal layout for specific mounting points and methods.
6. Ukuphathwa Kwentambo
- Utilize the cable routing holes and tie-down points behind the motherboard tray to manage cables neatly. This practice improves airflow and enhances the aesthetic appeal of your build.
Isithombe: Example of internal component installation and organized cable routing within the cabinet.
7. Fan and Radiator Installation (Optional)
- The cabinet comes with 4 pre-installed RGB fans. Additional fans or liquid cooling radiators can be installed in the following locations:
- Ngaphambili: Supports 240mm, 280mm, or 360mm radiators.
- Phezulu: Supports 240mm or 280mm radiators.
- Ngemuva: Supports a 120mm radiator.
Isebenza
- Once all internal components are installed and cables are securely connected, close the tempered glass side panel.
- Connect your monitor, keyboard, mouse, and other peripherals to your system.
- Connect the power cable to the power supply unit (PSU) and then to a wall outlet.
- Press the power button located on the front panel of the cabinet to start your system.
- The pre-installed RGB fans will illuminate upon power-on, providing visual effects and cooling.
Isondlo
Ukuhlanza Isihlungi Sothuli
- The cabinet features a magnetic dust filter on the top panel. Regularly remove and clean this filter to maintain optimal airflow and prevent dust buildup inside the system.
- To clean, simply lift the magnetic filter, gently brush off accumulated dust, or rinse with water if necessary. Ensure it is completely dry before reattaching.
Tempered Glass Care
- Clean the tempered glass panel with a soft, lint-free cloth and a non-abrasive glass cleaner.
- Avoid using harsh chemicals, abrasive materials, or excessive force, as these can scratch or damage the glass.
Ukuhlanza Okujwayelekile
- Periodically use compressed air to remove dust from internal components, fan blades, and mesh panels to ensure efficient cooling.
Ukuxazulula inkinga
Isistimu Ayivuliwe
- Check all power connections: ensure the PSU is connected to the wall outlet, the 24-pin ATX power cable and 8-pin CPU power cable are securely connected to the motherboard, and the front panel power switch cable is correctly connected to the motherboard's front panel header.
- Verify that the power switch on the back of the PSU is in the "ON" (I) position.
Abalandeli Abaphenduki / I-RGB Ayikhanyisi
- Ensure that all fan power cables and RGB cables are correctly connected to the motherboard or any included fan/RGB controller.
- Hlola ukuxhumeka okuxekethile.
Akukho okukhiphayo kokubonisa
- Confirm that your monitor is connected to the graphics card (or motherboard integrated graphics, if applicable) and is powered on.
- Reseat the graphics card and RAM modules to ensure they are properly seated in their slots.
For further assistance, refer to your motherboard manual or contact Galax support.
Imininingwane
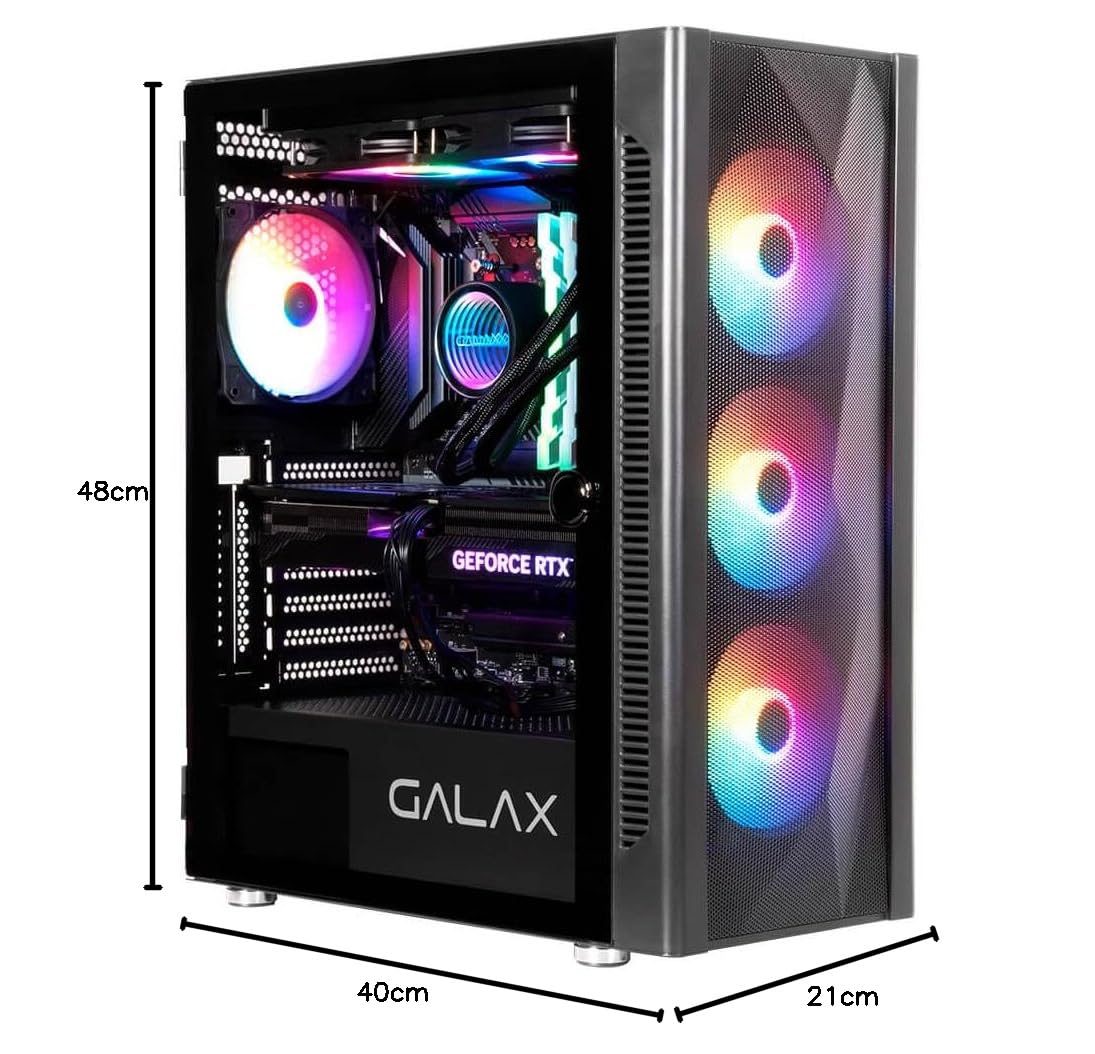
Image: Dimensions and internal layout diagram with key specifications.
| Ibhrendi | Galax |
| Uchungechunge Model | Revolution 06 Black (Rev-06) |
| Inombolo Yemodeli Yento | CGG6AGBA4B0 |
| Uhlobo Lwekesi | Mid Mid |
| Umbala | Mnyama |
| Ubukhulu bomkhiqizo (LxWxH) | 40 x 21 x 48 cm |
| Isisindo sento | 4.3 kg |
| Ukuhambisana kwe-Motherboard | I-ATX, i-Micro-ATX, i-Mini-ITX |
| Abalandeli abafakwe ngaphambilini | 4 RGB Fans |
| Iphaneli langaphambili I / O | 1x USB 3.0, 2x USB 2.0, 3.5mm Microphone, 3.5mm Headphone, Reset, Power |
| Ukwesekwa kokuphuza kwamanzi | Front (240/280/360mm), Top (240/280mm), Rear (120mm) |
| Ubude Bekhadi Lezithombe | Kufika ku-330mm |
Iwaranti kanye Nokusekela
Ulwazi Lwewaranti
This Galax Revolution 06 Gaming Cabinet comes with a Iwaranti yonyaka ongu-1 from the date of purchase. Please retain your proof of purchase for all warranty claims. The warranty covers manufacturing defects under normal use. Damage resulting from improper installation, misuse, unauthorized modifications, or accidents is not covered.
Imininingwane Yomkhiqizi
Umkhiqizi: Galaxy Microsystems Ltd., Hong Kong, Kowloon Bay, Wang Chiu Rd, 33, Exchange Tower, Room 1601, 16th Floor.
Umthekelisi (India): Technology And Gadgets, Gala no.142/143, 1st Floor, Building no.6, Mittal Industrial Estate, Marol, Andheri (East), Mumbai - 400059., Mumbai, India, Maharashtra.
Ukusekela kwezobuchwepheshe
For technical support, warranty inquiries, or further assistance, please contact your local retailer or refer to the official Galax support channels available on their webindawo.