1. Isingeniso
This manual provides essential information for the safe and efficient operation of your Reloop RP-7000 MK2 Direct Drive High Torque Turntable. Please read these instructions thoroughly before using the product to ensure proper setup, optimal performance, and longevity of your equipment. Keep this manual for future reference.
2. Iziyalezo Zokuphepha
- Ukunikezwa kwamandla kagesi: Connect the unit only to an AC outlet of the specified voltage. Qinisekisa ukuthi intambo kagesi ayonakele noma ayicindezelwanga.
- Umswakama: Do not expose the unit to rain, moisture, or excessive humidity. Avoid placing liquid-filled objects on the turntable.
- Ukungenisa umoya: Qinisekisa ukuthi kunomoya owanele endaweni yonke. Ungavimbi izimbobo zokungenisa umoya.
- Ukubekwa: Place the turntable on a stable, level surface away from direct sunlight, heat sources, and strong magnetic fields.
- Ukuhlanza: Nqamula ugesi ngaphambi kokuhlanza. Sebenzisa indwangu ethambile neyomile. Gwema izihlanzi noma izinyibilikisi eziwuketshezi.
- Ukusevisa: Ungazami ukusevisa iyunithi wena. Thumela konke ukusevisa kubasebenzi abafanelekayo.
3. Okuqukethwe Kwephakheji
Verify that all items listed below are included in your package. If any items are missing or damaged, contact your dealer immediately.
- Reloop RP-7000 MK2 Direct Drive High Torque Turntable (x2)
- Dust Cover (x2)
- Digital Turntable Stylus Scale
- Record Care Solution
- Ikhebula Lamandla
- Ikhebula le-RCA
- Intambo Yomhlabathi
- I-Slipmat
- I-Counterweight
- Headshell with Cartridge (pre-mounted or separate, depending on region/bundle)

Umfanekiso 1: Kuphelileview of the Reloop RP-7000 MK2 turntable bundle components.
4. Setha
4.1 Ukuqaqa nokubeka
- Carefully remove all components from the packaging. Retain packaging for future transport.
- Place the turntable on a flat, stable, and vibration-free surface. Ensure there is enough space for the dust cover to open fully.
- Attach the dust cover by aligning its hinges with the slots on the turntable's rear.

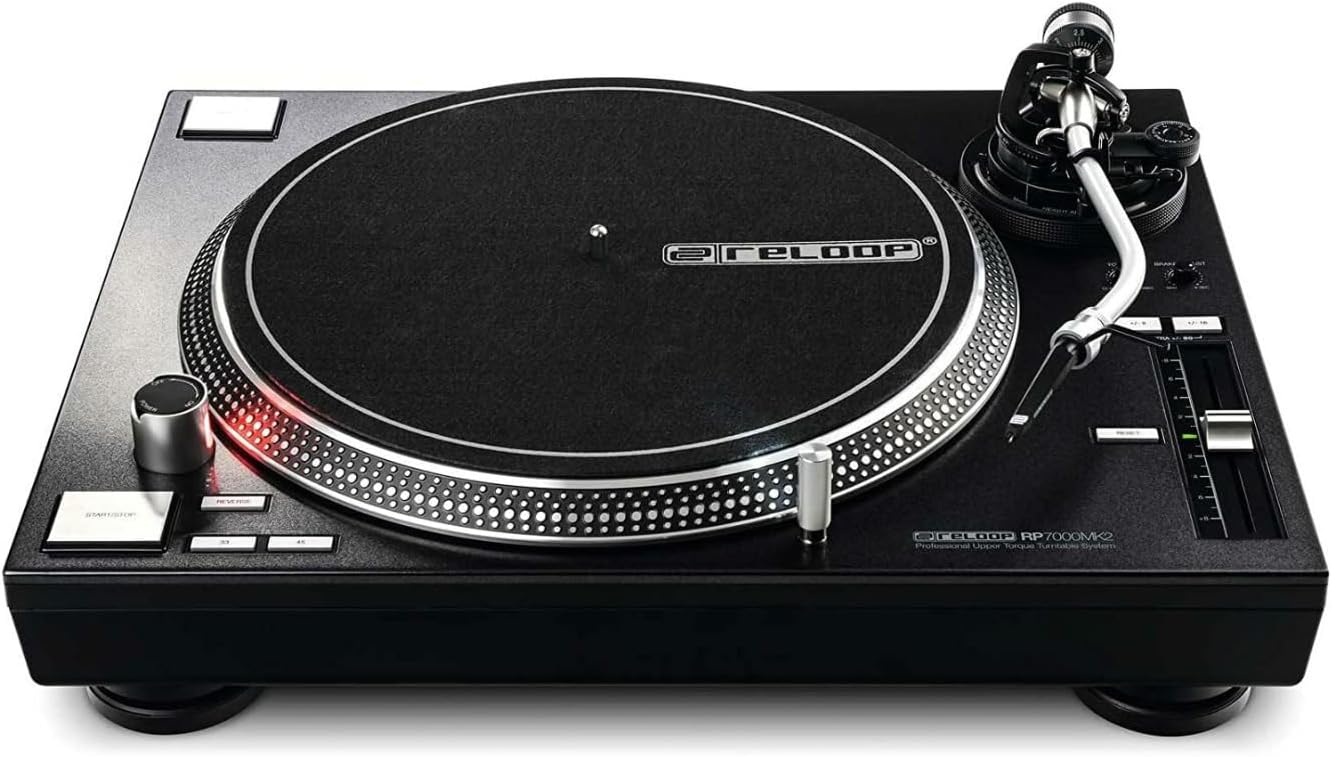
Umfanekiso 2: Turntable with the dust cover in place.
4.2 Platter and Slipmat Installation
- Carefully place the platter onto the center spindle. Ensure it sits flush.
- Beka i-slipmat phezu koqweqwe.
4.3 Ukusethwa kwe-Tonearm ne-Cartridge
- If not pre-mounted, attach the headshell with the cartridge to the tonearm. Secure it by turning the locking ring.
- Screw the counterweight onto the rear of the tonearm.
- Linganisa i-Tonearm: Khipha i-tonearm clamp. Adjust the counterweight until the tonearm is perfectly balanced and floats horizontally.
- Setha Amandla Okulandelela: Return the tonearm to its rest and clamp it. Rotate the numbered ring on the counterweight to '0' without moving the counterweight itself. Then, rotate the entire counterweight to the recommended tracking force for your cartridge (typically 2-4 grams for DJ cartridges).
- Isethi ye-Anti-Skate: Lungisa i-anti-skate dial ukuze ifane nesethingi yamandla okulandelela.
4.4 Using the Digital Stylus Scale
The included digital stylus scale allows for precise measurement of your cartridge's tracking force, ensuring optimal sound quality and minimizing record wear.
- Place the stylus scale on the platter.
- Vula isikali usebenzisa inkinobho yamandla.
- Carefully lower the stylus onto the designated measuring point on the scale.
- Read the tracking force displayed. Adjust the tonearm's counterweight as needed until the desired force is achieved.

Umfanekiso 3: Digital Stylus Scale for precise tracking force measurement.
4.5 Izixhumanisi
- Okukhipha Umsindo: Connect the RCA cables from the turntable's audio output to the PHONO input of your mixer or amplifier. If your mixer/amplifier does not have a PHONO input, you will need an external phono preampokokuphila.
- Intambo Ephansi: Connect the ground wire from the turntable to the ground terminal on your mixer or amplifier to reduce hum.
- Amandla: Connect the power cable to the turntable and then to a suitable AC power outlet.
5. Iziqondiso Zokusebenza
5.1 Ukudlala Okuyisisekelo
- Place a record on the slipmat.
- Select the appropriate speed (33, 45, or 78 RPM) using the speed selector buttons.
- Cindezela inkinobho QALA/YIMA button to begin platter rotation.
- Carefully lift the tonearm using the cueing lever and position the stylus over the desired groove on the record.
- Yehlisa i-lever yokudonsa ukuze ubeke i-stylus kancane kurekhodi.
- To stop playback, lift the tonearm using the cueing lever, return it to the tonearm rest, and press the QALA/YIMA inkinobho.
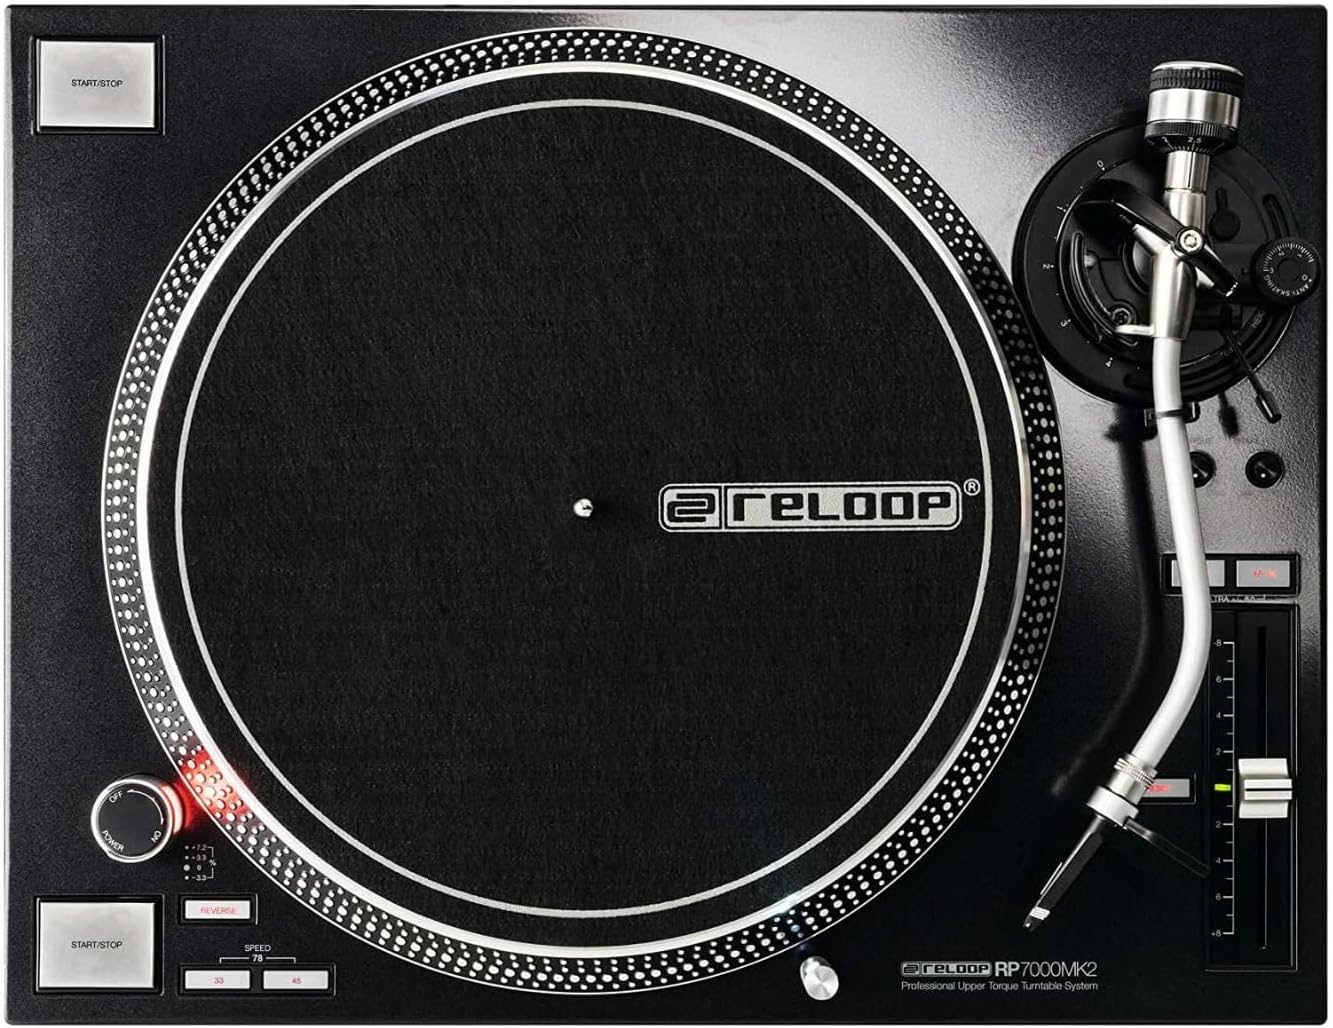
Umfanekiso 4: Turntable platter and control layout.
5.2 Pitch Control
The pitch fader allows you to adjust the playback speed (BPM) of the record. Move the fader up or down to increase or decrease the pitch. The pitch range can be selected using the range buttons (e.g., +/- 8%, 16%, 50%).
5.3 Reverse Function
The RP-7000 MK2 features a reverse playback function. Press the REVERSE button to change the direction of platter rotation. Press it again to return to normal playback.
6. Isondlo
6.1 Ukuhlanza i-Turntable
- Njalo nqamula amandla ngaphambi kokuhlanza.
- Use a soft, dry, lint-free cloth to wipe the surface of the turntable and dust cover.
- Gwema ukusebenzisa izihlanzi ezihudulayo, izinyibilikisi, noma izifutho zamakhemikhali, ngoba lokhu kungalimaza ukuqeda.
6.2 Ukunakekelwa kweStylus
- Gently brush the stylus from back to front using a soft stylus brush to remove dust and debris.
- Gwema ukuthinta i-stylus ngeminwe yakho.
6.3 Ukunakekelwa Kwerekhodi
The included record care solution helps maintain the quality of your vinyl records and prolong their lifespan.
- Apply a small amount of record care solution to a clean, soft, lint-free cloth or a dedicated record cleaning brush.
- Gently wipe the record surface in a circular motion, following the grooves.
- Allow the record to dry completely before playing.
Umfanekiso 5: Record Care Solution for maintaining vinyl quality.
7. Ukuxazulula izinkinga
| Inkinga | Imbangela Engenzeka | Isixazululo |
|---|---|---|
| Awekho amandla | Power cable not connected; outlet not active | Check power cable connection; test outlet with another device |
| Awukho umsindo noma ivolumu ephansi | RCA cables incorrect; no PHONO input; amplifier/mixer settings | Ensure RCA cables are connected to PHONO input; check amplifier/mixer input selection and volume |
| Umsindo ovungamayo | Ground wire not connected; interference | Connect ground wire; move turntable away from other electronic devices |
| Umsindo oweqayo noma ohlanekezelwe | Incorrect tracking force; dirty stylus/record; damaged stylus | Adjust tracking force using stylus scale; clean stylus and record; replace stylus if damaged |
| Ucwecwe alupholi | START/STOP button not pressed; motor issue | Press START/STOP; if problem persists, contact support |
8. Imininingwane
| Isici | Imininingwane |
|---|---|
| Igama Lemodeli | RP-7000 MK2 |
| Ibhrendi | Reloop |
| Uhlobo Lwezimoto | Direct Drive DC Motor |
| Isici Esikhethekile | I-Torque ephezulu |
| Ubukhulu bomkhiqizo | 27.9 x 20 x 18.6 amayintshi |
| Okubalulekile | Insimbi |
| Umbala | Mnyama |
| Amadivayisi Ahambisanayo | Speaker, Headphone, Personal Computer, MP3 Player, Laptop |
| Ifomethi Yesiginali | Idijithali |
9. Iwaranti kanye Nokusekela
Reloop products are designed for reliability and performance. For warranty information, please refer to the warranty card included with your product or visit the official Reloop website. For technical support or service inquiries, please contact your authorized Reloop dealer or distributor.
Umkhiqizi: Reloop
Idethi Etholakala Ngayo: Julayi 8, 2022